Most embroidery machines are filled with a multitude of preinstalled embroidery patterns. Plus, there are hundreds of thousands of embroidery designs available on the internet. Still, there are times when you don’t find your desired patterns on both platforms. Thus, you are forced to create your own embroidery pattern.
In this post, I’ll teach you each and everything about how to create your own embroidery pattern. You will be enlightened about the technicalities and delicacies of creating an embroidery pattern on your own. Plus, there will be different methods that will be discussed in this article for your help.
So, without further ado, let’s get started
Contents
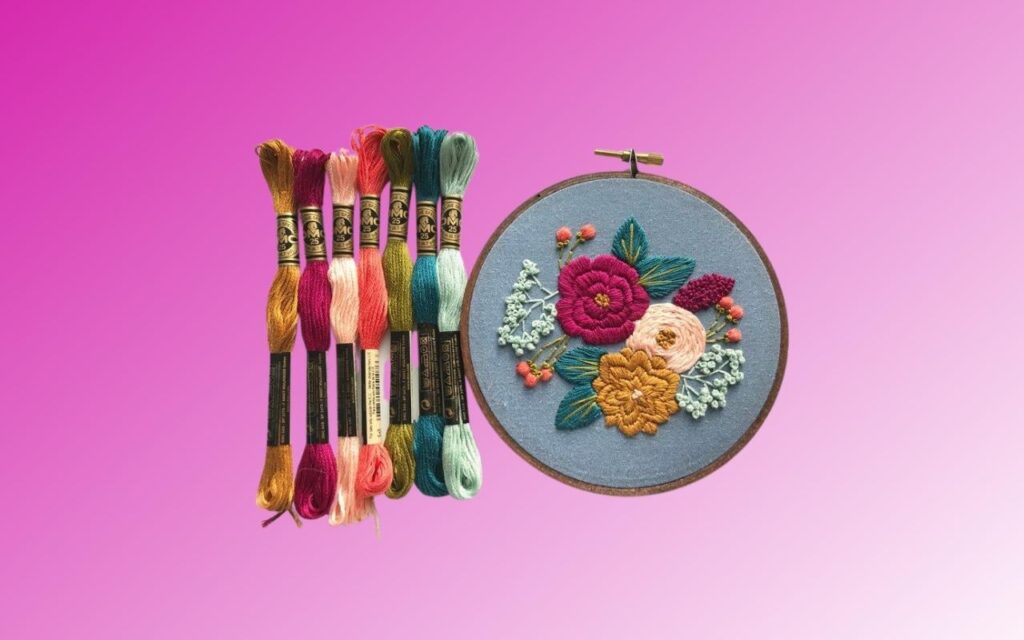
List Of Supplies You Will Need Before Starting the Process
Here is the list of supplies that you need to tick before starting your process.
A Pair of Scissors
You will need a pair of scissors for cutting the paper and other minute threads that make your work lengthy. A pair of sharp scissors would do a perfect job.
Use a NoteBook
You will have to keep a notebook to note down each and every detail so that if you forget any step or if you have to recall the whole process in the future, you can use these notes.
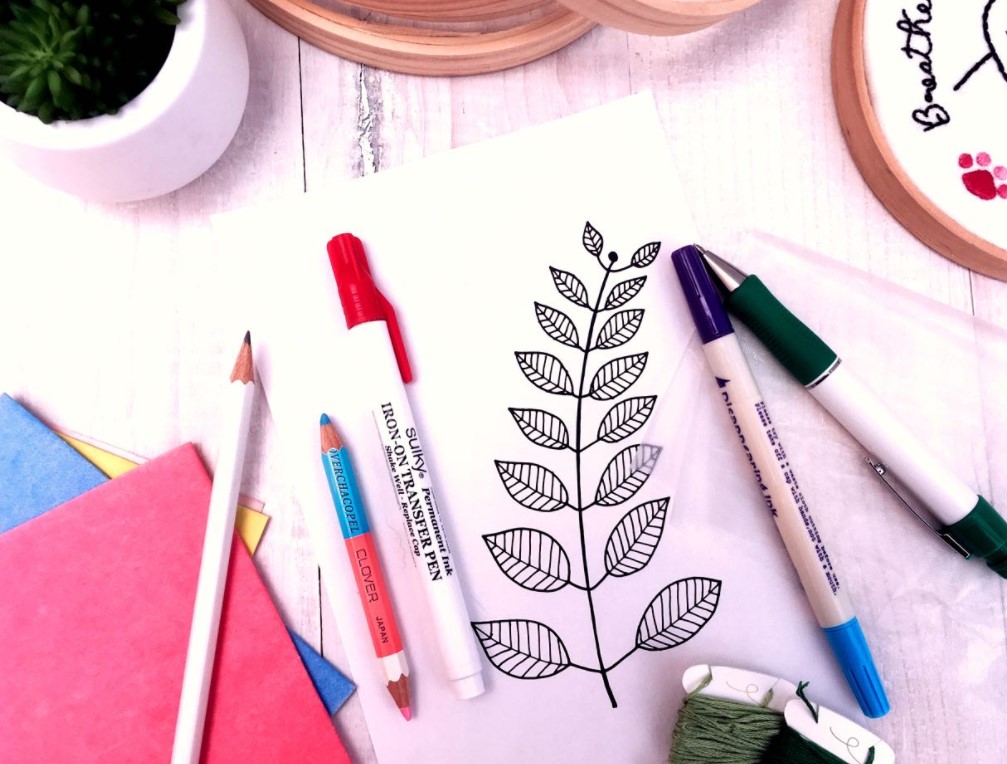
A Marker OR A Micron Art Pen
You will have to use them for tracing the design. A micron art pen will be really helpful in tracing neatly and cleanly. It helps avoid the little marks here and there.
Tracing Paper
You will also need a pen and tracing paper to draw the design. A pen and paper are used by those who don’t want to indulge in drawing a pattern on the software.
Stabilizer
A stabilizer which is generally called a backing will play a big role when you will have to transfer your design to your fabric. You can also embroider without a stabilizer but the process can be really tough because, without a stabilizer, you won’t be able to hold the fabric in one place.
How to Create an Embroidery Pattern
There are two ways to create your embroidery pattern. One is to use a pen and paper only. Another way is to use software that is more complex and delicate. I’ll first show you how to create patterns through the use of pen and paper.
Creating a Pattern using Pen and Paper
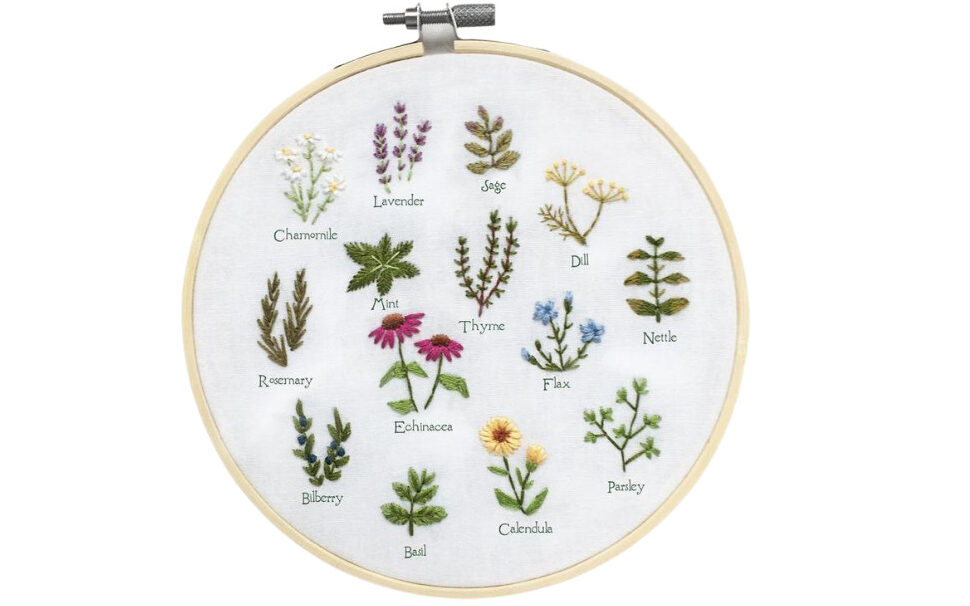
If you are looking to create a simple design like flowers, inanimate objects, or beautiful scenery then it is better to use a pen, paper, pencil, and some watercolors. On the other hand, if you want to draw complex designs like styled designs then you will need to use software or websites for drawing the designs.
You can draw or doodle your patterns in a sketchbook sitting at the table. Just try to draw whatever image you have in mind and come up with a design.
Start the tracing of the design which you have drawn with a pen. You should first trace the complex and main lines as it will help you create a neat and clean design that can be easily embroidered later. However, you don’t need to trace everything or every minute detail, it is just that if you trace only directional lines that guide how the design will unfold can do the work for you; when the design is too detailed, it becomes increasingly difficult and confusing to transfer the design on the fabric.
If you have used the tracing paper then start making holes on the tracing lines of the design. You can choose to manipulate the stitch length by punching the holes close to each other or keeping them at distance. But, my suggestion would be to keep them evenly spaced because it helps you create the pattern more easily. When you are finished with punching the holes on the tracing lines, it is time to take your design to the center or place it over the fabric which you’re going to embroider on.
Now start your embroidering process by stitching. Initially, it will take time for you to embroider your design but with time you will learn how to do it faster. When you are done, remove the paper from the fabric. Now, use a pair of scissors to cut the minute threads that hang out after you embroider.
This is the manual process. It is pretty easy if you don’t want to indulge in the technicalities of computers. However, in order to make a complex design, you will have to use a computer. So, here is the process if you go for the computer to create your embroidery pattern.
Create a Pattern Using Software
If you don’t want to draw on paper, there are many software in the market that can be used for drawing the image from scratch. You can use Adobe products and Photoshop, Illustrator, Inkscape, or InDesign. However, you should know how to use them in order to draw the pattern.
Some embroidery machines have also got their inbuilt embroidery machine software such as BuzzSize, Brother Initial Stitch Embroidery Lettering & Monogramming Software that can be used for drawing different patterns. Using this inbuilt software is the easiest way to draw your design. However, not all machines provide you with such luxury because there is no inbuilt software in every machine. Nonetheless, you can also look into the market to purchase the embroidery software that is compatible with your embroidery machine.
I’ll guide you step by step on how to create embroidery patterns using the software.
- Step 1: Separating the Design: If you are to work on the software then I recommend using a pair of sharp scissors for cutting the paper design– that you have drawn or printed– in a way that there is a very little ratio of bleed that remains at the edges of the design. This process will help you if you need to break up the design from the background on the embroidery software.
- Step 2: Save it on the Computer: Once you have cut the pattern, scan it and save it in the form of an image. Don’t forget to save it in the highest image quality such as in jpg file format so that all the minute details are visible when the process of stitching comes.
- Step 3: Convert it into Vector Image: With the designs saved on the computer, you’ll have to make sure that images are turned into vector forms so that they can be utilized for your embroidery work. This means that the images that are digitized into your computer can be printed out or can be saved into a USB for transferring onto the embroidery machine. There is no limitation on the software you use; you can use the services of any software that have been mentioned above. You just have to open them and download the image and convert it into a vector file.
- Step 4: Transfer the Pattern onto the Embroidery Machine: Save this vector file in the format that’s compatible with your embroidery unit. Keep in mind the software you are working on should be able to save the file in a format that is compatible with your embroidery machine. Once the embroidery pattern is transferred onto your machine, it is time to use this pattern.
- Step 5: Start Sewing : In order to transfer your image, you will have to save the image into the USB stick and upload it into your embroidery machine. You just have to follow the particular instructions of the machine to start the sewing process.
- Last Step: Complete the Project: Once you have started to sew, don’t rush to finish your project. Use low speed at the beginning to embroider complex lines at the edges. Once you are done with the edges, complete the whole project by sewing at the remaining parts.
After completing the project, use a pair of scissors to cut unnecessary threads that hang out of the design.
Conclusion
That’s it for today. Hope you find this article valuable. You can use this information to start your embroidery journey.